After introducing the block-based approach in the 5.0 update, many WordPress users made the switch to the block editor, also known as Gutenberg.
Like many, if you’re also considering this change, using the block editor for the first time can get confusing.
That’s why we’ve included this guide on how to use WordPress block editor for you.
From getting comfortable with the interface to page creation and publishing, we cover everything you need to know.
Familiarize Yourself with the Interface
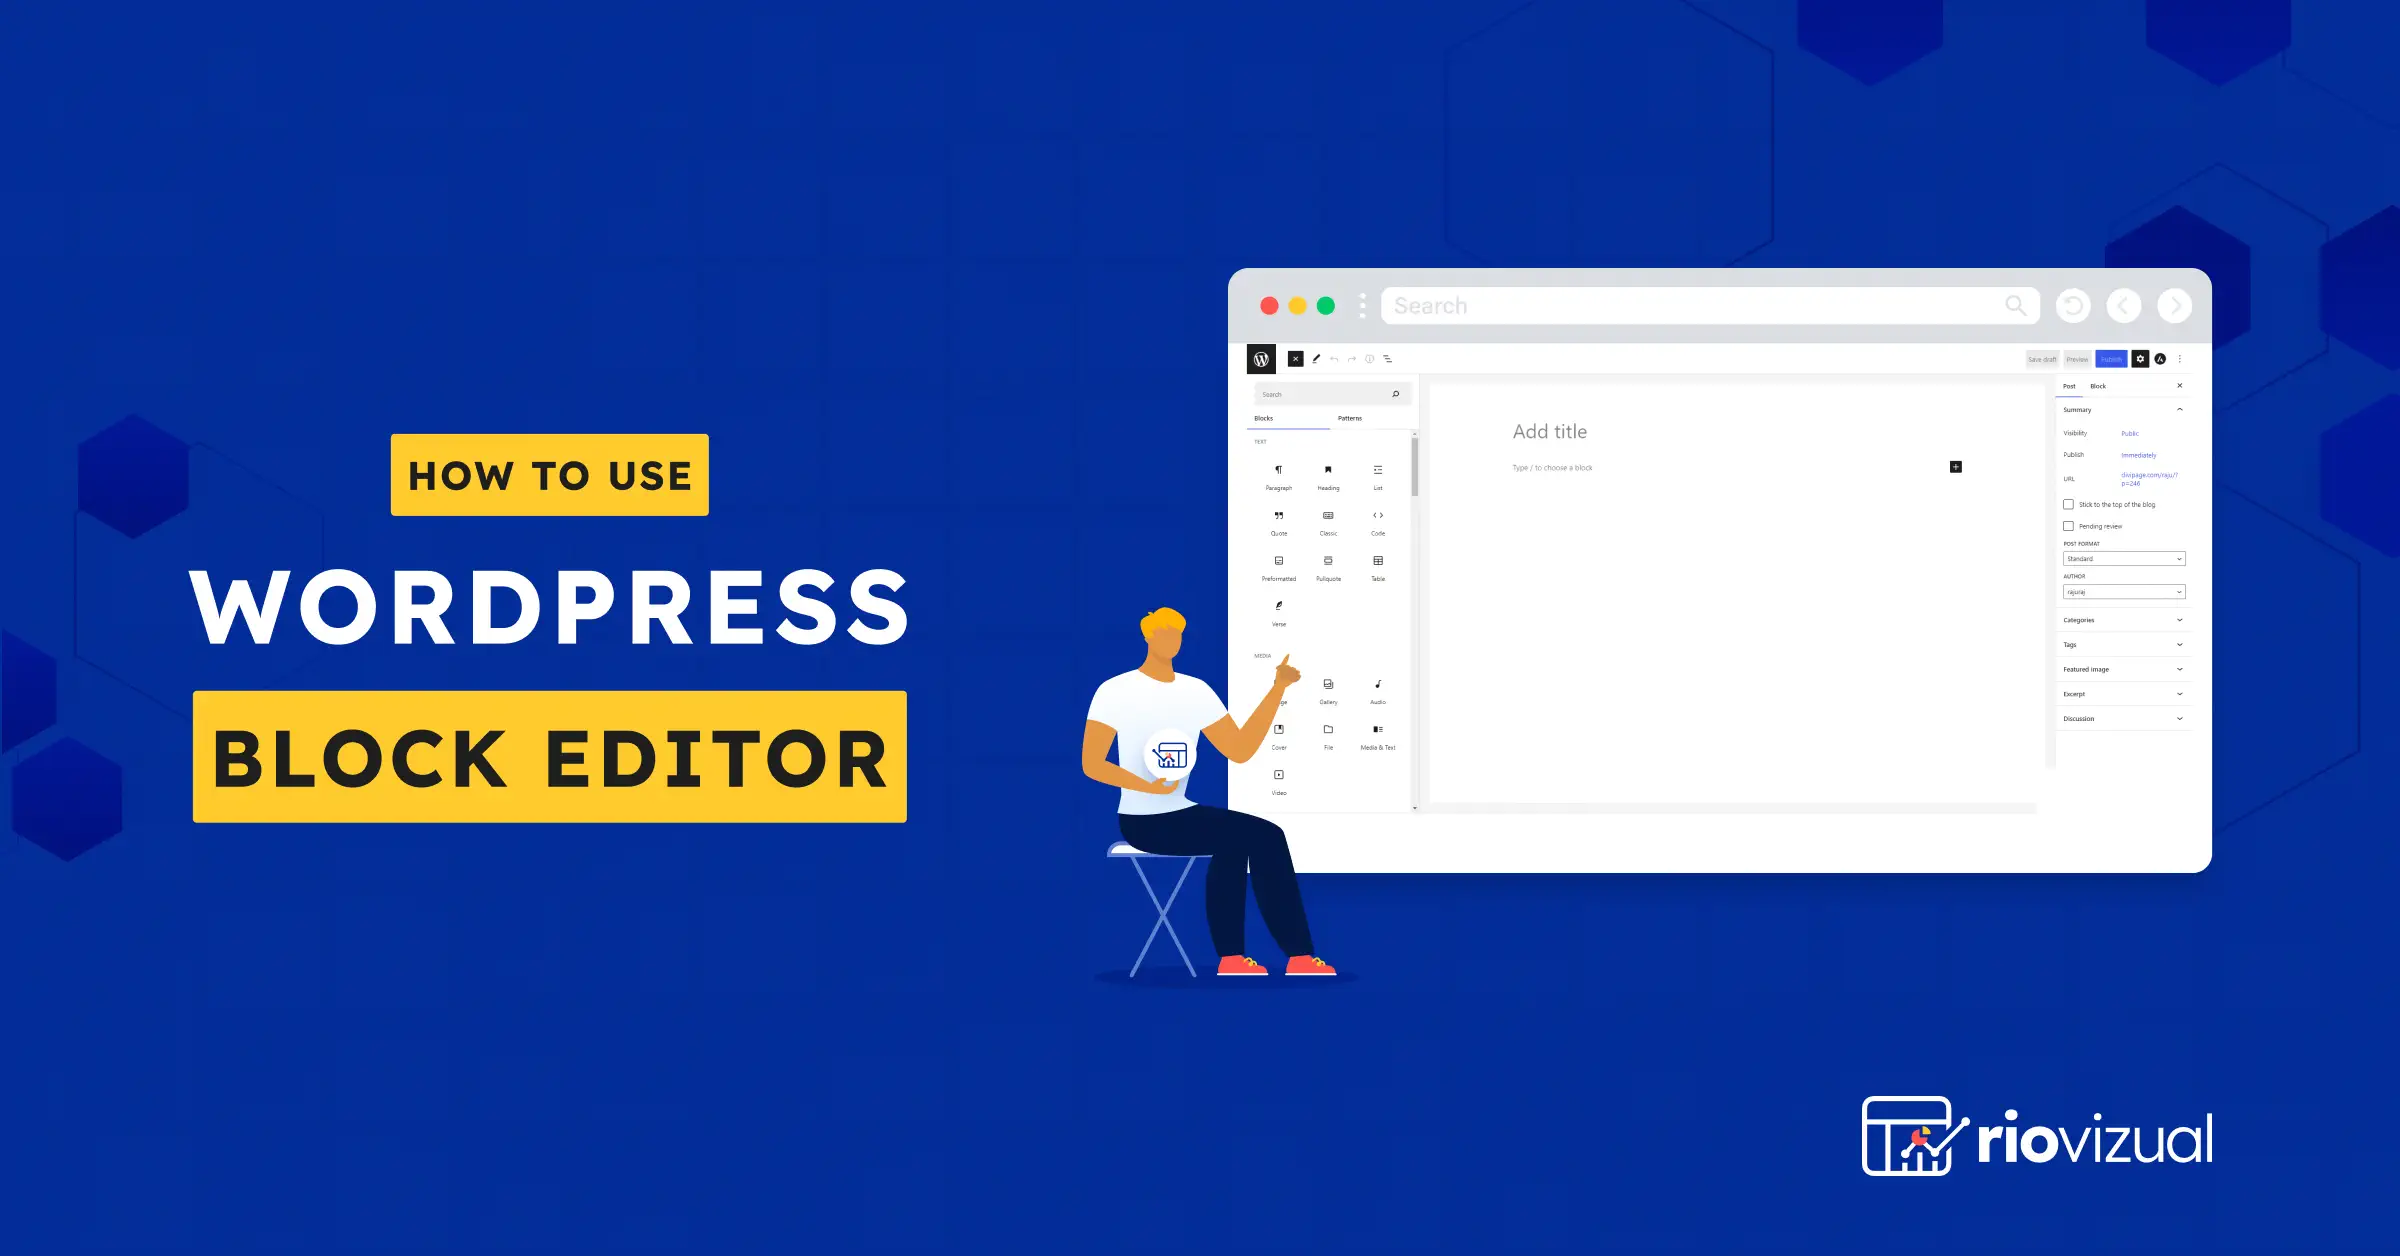
Before we get into how to use the WordPress Gutenberg block editor, let’s take a look at its interface and all its components. Upon opening a new page or post, you will see four main components in the block editor’s interface:
- Top bar
- Block Inserter
- Content Area
- Settings Sidebar
A. Top Bar
Top bar is a horizontal toolbar located at the very top of the block editor’s interface. This bar contains all the essential actions and settings for managing the whole page or post. Here’s what you’ll find in the top bar:
- Block Inserter: This blue plus button lets you find and add blocks to your content.
- Tools: This button offers different interactions for editing and selecting blocks.
- Undo and Redo: Using these buttons, you can undo or redo your most recent action.
- Document Overview: This button provides a structured overview of your page or post. The list view displays all blocks used, while the outline shows character and word counts, along with the heading tags used.
- Save, Draft, View, Publish: All the button names represent their actions. (The view button lets you show how the page or post will look on different devices.)
- Settings: This button allows you to hide or show all the settings related to your page or post, as well as your selected block.
- Options: This button lets you make changes to various aspects, such as entering full-screen mode, switching between the visual editor and code editor, and more.
B. Block Inserter
By clicking on the block inserter in the toolbar, you can explore all the available blocks. These blocks are the fundamental units for content creation, serving as modular elements that users can add, arrange, and customize to create content layouts.
In the block inserter panel, you’ll find a vast library of blocks, including paragraph, image, button, etc. Each block contains a specific piece of content or functionality, allowing users to manage individual elements independently.
C. Content Area
The content area is the main workspace where you can add, edit, and arrange blocks. Here you’ll write content and add blocks for your page or post.
Within the content area, you’ll notice a ‘’+’’ button accompanied by search and browse options. Through the search function, you can quickly find specific blocks, while selecting ‘’Browse all’’ will direct you to the main block inserter panel.
D. Sidebar
Sidebar is the home of all the page or post settings, as well as settings relevant to your selected block. Whenever you use a new block in your design, you’ll discover a new set of block-specific settings. Plus, for a page or post, you can make changes to the visibility, author, categories, featured image, and so on.
How to Add Block to a Page or Post
You’re already familiar with different approaches to adding a block to your page or post. Simply use the block inserter from the top toolbar or use the plus button in the content area to add a new block.
Besides both, you can add a new block to your content by typing “/” in the content area. When you’ll use the block insert, you’ll see all the available blocks are neatly categorized into different categories, including text, media, design, etc.
Note: You may notice differences in the block categories while using different block-based themes.
How to Customize a Block
Unlike the classic editor, the block editor offers more flexibility by allowing you to customize each block individually.
Any time you click on a block, a floating toolbar will appear above the block with basic customization options. For instance, if you add a paragraph block, you’ll see a toolbar with options like text alignment, bold, italic, and more.
However, you’ll find more advanced settings for your selected block in the sidebar’s block tab. For example, the Paragraph block lets you edit the text, background, and link color, as well as the typography.
How to Use Blocks for Page or Post Layout Building
Up until now, you’ve learned about blocks and other functionalities in the block editor. Now, let’s explore how to use these blocks for creating pages or posts.
Typically, elements like titles, text, images, and buttons are essential for standard content creation, and block editor has individual blocks for each. Let’s explore how to use these blocks for creating pages or posts:
Add a Title:
Use the block inserter to add a ‘’Heading’’ block, then type your heading text. You can change the heading level (H1-H6) using the toolbar above the block. Also, utilize the sidebar’s settings option for additional settings or customization.
Add a Text:
While you can start typing directly in the content area, the Gutenberg editor offers a dedicated ‘’Paragraph’’ block for text. After adding text, use toolbar or sidebar settings for personalization. Plus, you can check the estimated reading time, as well as the total word and character count, from the Document Overview’s “Outline” tab.
Add a Link:
Adding links to your text is simple in the Gutenberg block editor. Just select the text you want to link, then click the link button in the toolbar and paste your desired URL.
Add an Image:
You can add both a single or a group of images based on your design or content creation needs. Simply use the image block for a single image and on the other hand, using the gallery block you can add a group of images.
Add a Button:
Buttons are essential for increasing user engagement and guiding your users towards the actions you want them to take. You can easily add a button block by navigating to the Block Inserter and selecting it from the Design category.
Embed a Content:
Using the block editor you can embed content from external sources without needing complex coding. Check out all the blocks available in the embed category, and then use one based on your needs.
How to Remove Any Block
After adding a few blocks, if you want to remove any of them, you can do so easily. Simply click on the block, then select the three-dot option from the toolbar that appears above the block, and choose ‘’Delete.”
How to Rearrange Blocks
Rearranging means moving content elements up or down to change their position within the layout. Block editor lets you do this with it’s drag-and-drop as well as move up and down functionality.
Both drag-and-drop and the up-and-down arrows will be available on the floating toolbar of each block. Drag options are represented by the six-dot handle icon, and the move up and down icons are also available.
Simply click and hold the drag icon, drag the block to your desired location, and release it. Alternatively, you can also utilize the up and down arrows to move a block up or down from its original position.
How to Create Multiple Columns
Like many page builders, if you want to create a multi column content layout, it’s possible with a block editor. You can add six side-by-side columns, with the capability of adding a separate block for each.
Here is how to create a layout with multiple columns and add blocks to them:
- Choose the place in your content where you want to add multiple columns.
- Click on the block inserter and select the “Columns” block.
- Select the premade column layout that suits your contents’ needs.
- Then click on each column to add blocks.
Just like with any other block, you’ll have access to the settings and customization options for each block within the columns.
Moreover, you can add multiple columns anywhere in your content. For that, select your preferred block, then select column option from the toolbar. Also, don’t forget to use the sidebar’s column settings option to specify how many columns you want to add.
How to Group Multiple Blocks
Depending on your content creation needs, you can combine multiple blocks into a single unit using the ‘’Group’’ option. This feature allows you to merge several blocks together and style them collectively to achieve a cohesive design.
Beyond just styling, creating a group also allows you to manage all the blocks inside the group collectively. To create a group, follow the instructions below:
- Click and hold the Shift button, select all the blocks you want to group one by one.
- Now a toolbar will appear. From there, click on the three-dot icon and select the “Group” option.
Once you’ve created a group, you can move the group using the drag icon in the toolbar. Additionally, you can make more styling changes to the entire group using the setting options in the sidebar.
Note: You can use the list view option to create and rearrange group effortlessly.
How to Create Pattern
Creating a pattern means saving your designed layout (with single or multiple blocks) for later use. Suppose you just created a layout and want to re-use it for another page or post, then you can use the pattern feature.
To create a pattern using multiple blocks, you can follow the following steps:
- Design your content layout with your preferred blocks.
- Click and hold the shift key to select all your desired blocks.
- Once the selection is done, click on the three-dot icon in the toolbar and select “Create Pattern.”
- Now give the pattern a name and category name.
While creating a pattern, there will be an option called “Synced.” If you leave this enabled, any changes you make to the pattern in one location will be applied globally wherever the pattern is used. Also, you can toggle off if you prefer not to apply changes globally.
Note: You’ll find your created pattern besides blocks inserter panel.
How to Duplicate a Block
Another effective way to streamline your workflow while using the block editor is to use the duplicate option. This one lets you create a precise copy of any selected block, including all its content and formatting.
Simply click on your desired block, then click on the three-dot icon from the toolbar, and from there select duplicate. Now you’ll have the exact replica of the original block that you can edit and rearrange to suit your layout’s design needs.
How to Publish Content
Once you’re done with the page or page creation, it’s time to publish your work with the “Publish” button. Upon clicking the button, you’ll be presented with a new set of settings, such as setting visibility, scheduling your post, adding categories or tags, and more.
Adjust these settings according to your preferences. Once you’ve configured the settings, click on the “Publish” button to finalize and publish your page or post.
If you’re editing an existing page or post, simply click on the “Update” button in the top bar to save your changes.
How to Edit a Full Site with the Block Editor?
The block editor lets you customize not just individual pages and posts, but also the overall appearance of your website. In the 5.9 update, WordPress has included this site editor feature.
With site editor, you can take control of design elements across your entire site from the header to the footer. (Site editor only works with a block-based WordPress theme.)
To take full advantage of the site editor, simply go to Appearance > Editor from your dashboard. Now a new window will appear popup with the following options:
- Navigation: Create, edit, and manage your website’s navigation menus. You can add, remove, and rearrange menu items for a user-friendly browsing experience.
- Style: Define global styling for your website, including color palettes, typography, and layout dimensions. This ensures a consistent design throughout your site.
- Pages: Edit the content and layout of existing pages directly within the site editor. You can also create new pages, add content, and customize their layout with ease.
- Templates: Craft or customize theme templates to control the layout and design of different website sections, such as headers, content areas, sidebars, and footers.
- Patterns: Discover and utilize pre-designed block patterns to jumpstart your content creation process. You can also find your created patterns here and create new ones.
How to Use Keyboard Shortcuts
Developers often use shortcuts to boost efficiency, and if you’re a fan of keyboard shortcuts, you’ll find the WordPress Gutenberg Block Editor. It provides shortcuts for nearly every action.
You can discover them all by typing “Shift+Alt+H” together. For your convenience, we’ve compiled a list of all available keyboard shortcuts in the section below:
| Global Shortcuts | Navigate to the nearest toolbar – Alt+F10Open the command palette – Ctrl+KSwitch between Visual editor and Code editor – Ctrl+Shift+Alt+MToggle distraction free mode – Ctrl+Shift+\Toggle fullscreen mode – Ctrl+Shift+Alt+FShow or hide the Settings sidebar – Ctrl+Shift+,Navigate to the next part of the editor – Ctrl` or Shift+Alt+NNavigate to the previous part of the editor – Ctrl+Shift+` or Shift+Alt+PSave your changes – Ctrl+SUndo your last changes – Ctrl+ZRedo your last undo – Ctrl+Shift+ZOpen the block list view – Shift+Alt+O |
| Selection Shortcuts | Select all text when typing. Press again to select all blocks – Ctrl+AClear selection – ESCSelect text across multiple blocks – Shift+Arrow |
| Block Shortcuts | Duplicate the selected block(s) – Ctrl+Shift+DRemove the selected block(s) – Shift+Alt+ZInsert a new block before the selected block(s) – Ctrl+Alt+TInsert a new block after the selected block(s) – Ctrl+Alt+YDelete selection – del backspaceMove the selected block(s) up – Ctrl+Shift+Alt+TMove the selected block(s) down – Ctrl+Shift+Alt+YChange the block type after adding a new paragraph – / |
| Text Shortcuts | Make the selected text bold – Ctrl+BMake the selected text italic – Ctrl+IConvert the selected text into a link – Ctrl+KRemove a link – Ctrl+Shift+KInsert a link to a post or page – [[Underline the selected text – Ctrl+UStrikethrough the selected text – Shift+Alt+DMake the selected text inline code – Shift+Alt+XConvert the current heading to a paragraph – Shift+Alt+0Convert the current paragraph or heading to a heading of level 1 to 6 – Shift+Alt+1-6 |
Tips to Use Block Editor Like a Pro
Knowing how to navigate the block editor effectively is no longer optional. It’s the key to unlocking a world of creative possibilities while streamlining your workflow. To help you out, we’ve compiled some essential tips and techniques in the section below:
- Choose Your Preferred Interface View Type:
If you click on the three vertical dots on the top bar’s right side, you’ll find additional settings, including the view-choosing option. In the view option, there will be 4 options:
- Top Toolbar: Selecting this option places the toolbar at the top with a fixed position. Every time you add a new block, the settings option on the toolbar will automatically update to match the selected block’s settings.
- Distraction-Free: It will hide all elements from the content area and give you a clean writing environment.
- Spotlight Mode: This option will highlight only the block you’re currently editing and dim the rest. It lets you concentrate on a block’s editing.
- FullScreen Mode: When you select this option, you can maximize the editing space by hiding the admin user interface.
- Use the List View Option:
The list view option makes block management effortless. Click in the three horizontal lines (document overview) in the top bar. This will display a list of all blocks used on your page or post. From there, you can rearrange the blocks and even jump directly to any particular block’s editing area by clicking on it.
- Preview Before Publishing:
Before publishing your page or post, utilize the Preview option located next to the Publish button. This allows you to see how your content will appear on different devices and lets you make any necessary adjustments if necessary.
- Use the “/” Slash To Insert a New Block:
Instead of using the block inserter every time, type a “/” slash in your content area to insert your desired block. However, this feature will be beneficial for you only if you know every block and their name.
- Edit HTML Content Directly With The Code Editor:
If you have a good technical knowledge and prefer code editor over a visual editor, you can access the HTML editor easily. Just simply click on the three dots in the top right corner and select the code editor.
- Drag and Drop Image from Your Computer:
While the WordPress Gutenberg editor offers an image block for uploading photos, you can make the process even faster. Simply drag and drop an image from your computer directly into the content area. Plus, when you try the same for multiple images, the editor will automatically add them to a gallery block.
- Explore Third-Party Block Plugins:
You can enhance the functionality of the block editor by using third-party block plugins. Some quality WordPress plugin packs for the block editor are Spectra, RioVizual, Ultimate Blocks, and Essential Blocks. RioVizual, in particular, offers a wide range of blocks specifically designed to meet various table creation needs.
Closing Thoughts
No matter if you’re a casual or regular WordPress user, you must know about the block editor right now. Block editor is the future, as now it can do almost everything a page builder can do.
You can create and edit pages or posts as well as customize your whole website, including the header and footer. That means it’s high time to know about the Gutenberg editor so that you won’t fall behind in the competition.
Now that you know how to use WordPress block editor and are familiar with its functions, give this editor a try. If you face any difficulties or need assistance, feel free to comment.
FAQs About WordPress Block Editor
How to Disable WordPress Block Editor?
To disable your current WordPress editor, simply install the classic editor plugin from the plugin directory. Activating this plugin will automatically deactivate the Block Editor.
Is WordPress Block Editor Free?
Yes, the block editor is completely free to use. Since its inclusion in WordPress 5.0 in December 2018, every user automatically receives this editor upon installing WordPress on their site.
Why WordPress Block Editor Not Working?
Outdated WordPress theme or plugin, conflicts with other plugins, or browser issues are the most common concerns. To resolve the issue, simply update your theme or plugin, deactivate conflicting plugins, and clear your browser cache.
FURTHER READING:

Leave a comment